Completing a track in light audio recording with BandLab generally follows the same processes each time. So, as with setting up hardware, admin, and getting levels, it’s as well to have one tutorial-style page to refer to always, rather than bother Google with duplicate content.
Step one: editing
Firstly, I need to tidy up each instrument section.
- Make sure each track in the instrument section is in time with each other
- Cut out any silences, or sounds that shouldn’t be in the track
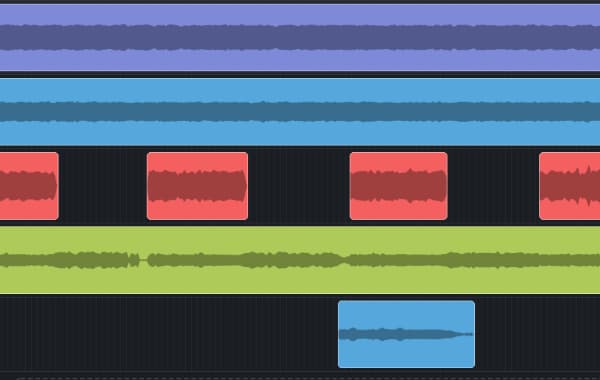
Step two: micro-mixing
Because BandLab is an online DAW, it has limitations – it starts to lag and struggles to load or save, and crashes a lot, if it has to do too much.
A workaround is to mix each instrument section separately. It’s particularly useful for guitars.
I do this in the order i recorded the tracks, so:
- Drums
- Bass
- Acoustic guitar
- Electric guitar
- Vocals
- Percussion
Here’s how I do the actual mixing.
- Mute the bounced track of previous sessions
- Set the level of each track to its minimum
- Raise the level of the first track until it’s at that not-quite-hot level that we talk about when setting your input level
- Raise the level of the net track until it sounds how you like it relative to the previous track
- Repeat for each track in the instrument section
- Undertake any panning or EQing you might want to any of the tracks
- Export the mixed down instrument section
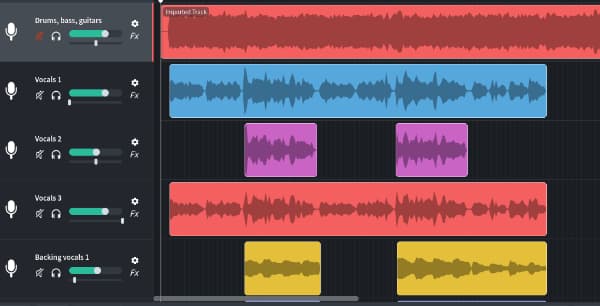
Step three: create a new project
- Just like we always do
- Import each of the mixed down instrument sections that you exported in the last step into their own track in the new project
Step four: complete mixing
This is pretty much identical to the micro-mixing in step two, except, each track is now its own instrument section, and you don’t need to mute a bounced track of previously recorded parts.
- Set the level of each track to its minimum
- Raise the level of the drums until it’s at that not-quite-hot level
- Raise the bass until it sounds like the right balance between it and the drums
- Repeat for each track, raising the level until it sounds right in the context of the other tracks
- You’ll probably have to adjust things as they go – they’ll sound different in the context of each other
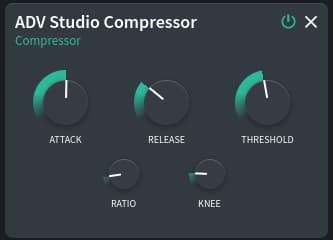
Step five: add compression
There are plenty of resources describing compression, what it does, why it’s important in mixing your music, so there’s no need to repeat anything here.
Compression is what will make each of the instrument sections pop.
Here’s a cheat sheet for light audio recording in BandLab that I use as standard.
You’ll probably have to tweak your levels again after you add compression.
Step six: completing it with mastering
On the project page, click the three dots below the player.
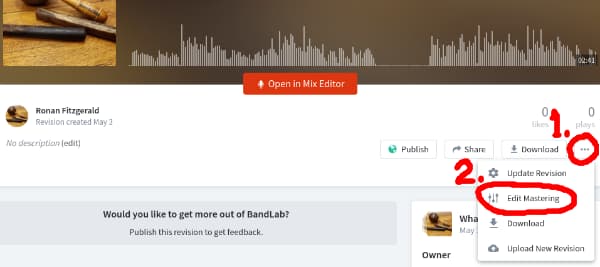
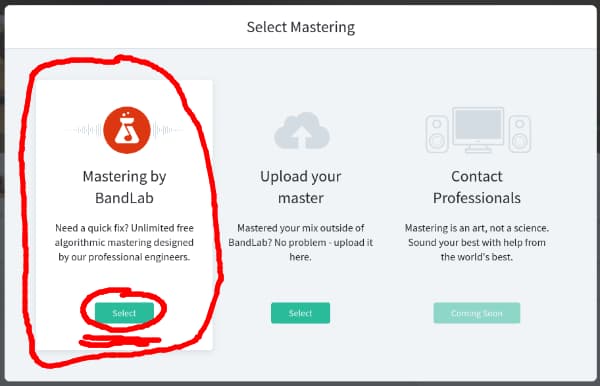
Give the mastering function a second to mix it down – you’ll see a progress bar – then, you’ll see this window.
Click ‘Select’ in the right-most option.
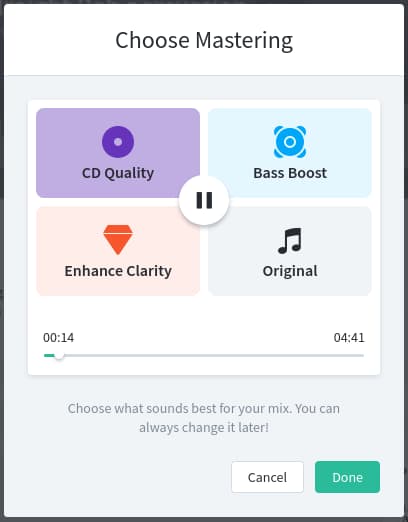
Then, click “CD Quality.” Check the other options to see if you like them better. I don’t.
Completing by repeating
When you complete these six steps, take a break of a day or two, then listen again. A fresh set of ears will make a massive difference!